Wood Assessment
need photos here
The first step in getting the joints ready for the floor involves a complete assessment of each piece of wood which will be used.
The Cedar which I am using is greatly made up of heartwood which can be determined by looking at the rings on the end of the board. Clear Cedar is the choice of wood to use for something like this but the cost of it was not in our budget and was not at all realistic.
An assessment of the boards involves looking at each piece of wood and the knots which are in it.
If the board in question is from the absolute center of the tree, a knot on one side of the board will not travel directly through the board and should not pose a big problem.
A knot which runs from one edge to a face should also not be a problem as the edge joint should be sealed.
Any knots which run right through a board were assessed one by one and a certain amount of risk was assumed by actually using that board. The larger side of the knot will be placed inside the tub so it can act as a cork. If the small side is placed inside the tub, pressure from the water could pop it right out.
Some knots look like plugs which are in the board, you can see a bark layer and can be pretty sure they will leak like crazy and pop our very easily. Other knots look to be a homogeneous piece of the wood and from a structural point of view I think they will be fine.
I show some good examples at the end of video 3 in the series. Video is embedded below or can be found on our YouTube page here.
Joint Preparation
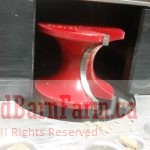
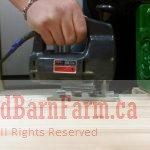
Acquiring the correct router bits is worth the money spent.
The router setup time involved when using the correct bits was not a big concern.
With the correct bits I was able to make each joint with a single pass instead of having to run a single edge of every board through the Router twice.
The only edges of boards which were run twice were due to me not holding the board correctly or feeding it correctly on the first pass.
Compression

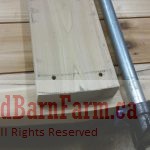
This should be pretty straight forward, I used pipe clamps to squeeze the floor boards together prior to adding a support and fastening with stainless steel screws.
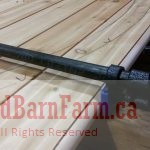
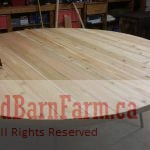
Marking
Marking of the floor to get a nice round circle was a simply process. In the video series I show 2 separate items to scvomplish this task.
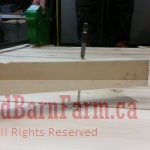
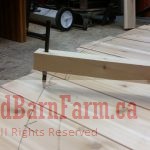
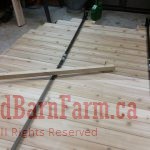
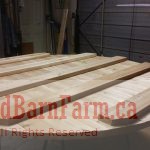
Support
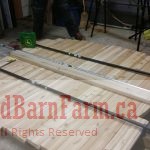
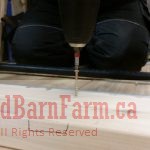
The supports which can be seen in the photos were boards deemed to have too many big knots to be used as an actual floor board.
A secondary support will be added to these current ones seen in the photos above and will be sections of pressure treated, 4″ X 4″ fence posts.
Cutting
A circle can be cut with a hand held circular saw or even a table saw but it takes time and a work piece smsll/thin enough to be done correctly.
A jigsaw is probably the most effective tool for the job.
A dull or bent blade will make this task wah more complicated than it needs to be. A new, sharp blade on an old tool will likely work way better than a crap blade on a new tool.
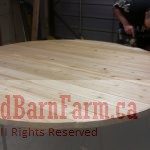
Completed Floor
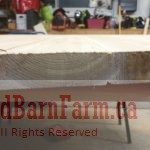
Still to come, need to put the edge on the bottom side of the floor.